Waxing WatercolorsWaxing Watercolors
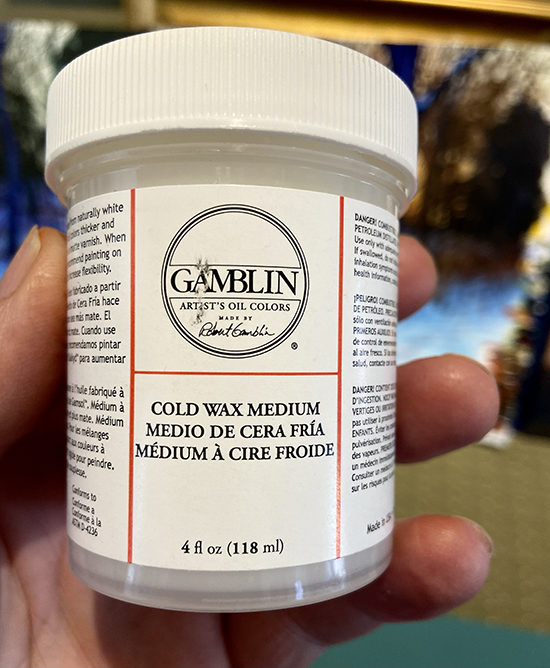
We use Gamblin Cold Wax Medium. It is made from the highest quality purified white beeswax and comes in paste form for easy application. It can be diluted with a little bit of Gamsol if needed, but we use it straight from the jar.
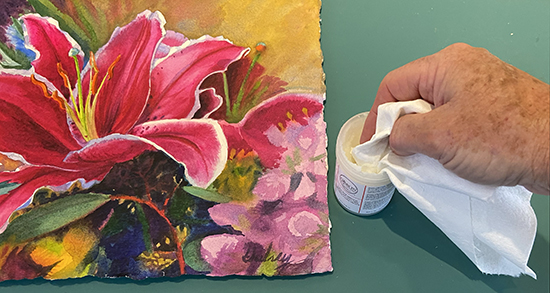
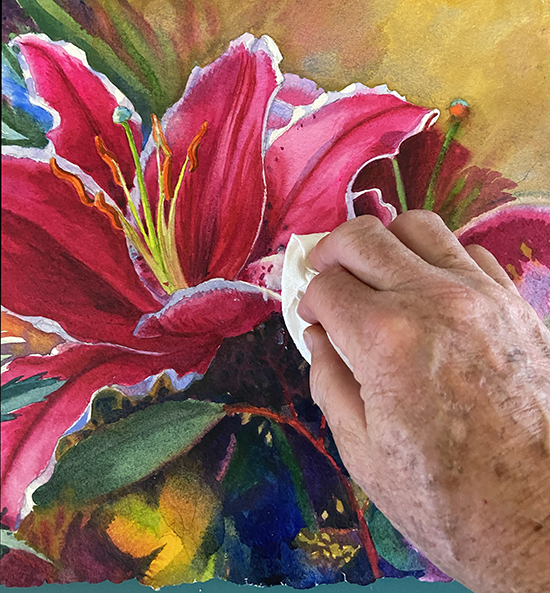
We apply it with a top-quality paper towel or lint-free cloth, working it into the paper in a swirling motion. If you have applied gouache anywhere to your work, be sure to test that separately first, to make sure it won’t dissolve in the wax. You may note a slight darkening of some deep colors from the wax. We find this acceptable and even desirable in most cases—similar to the effect varnish can have on an oil painting, but, again, you will want to test on a practice watercolor to see if the effect works with your work. We like to work on top of a big piece of paper to absorb the inevitable excess when working the edges of the picture. Allow to dry overnight.
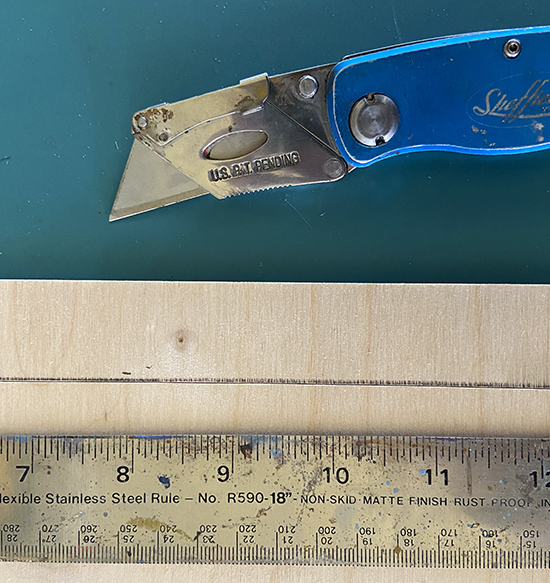
If the art is to be flush with the edges of the panel, the panel must be cut to size before mounting. On thinner, 1/8” panels, one can do this with a mat knife and a heavy steel ruler or yard stick. It will require a new blade and multiple passes, but avoids the need for a power saw. Heavier boards will require sawing with a fine-bladed circular saw.
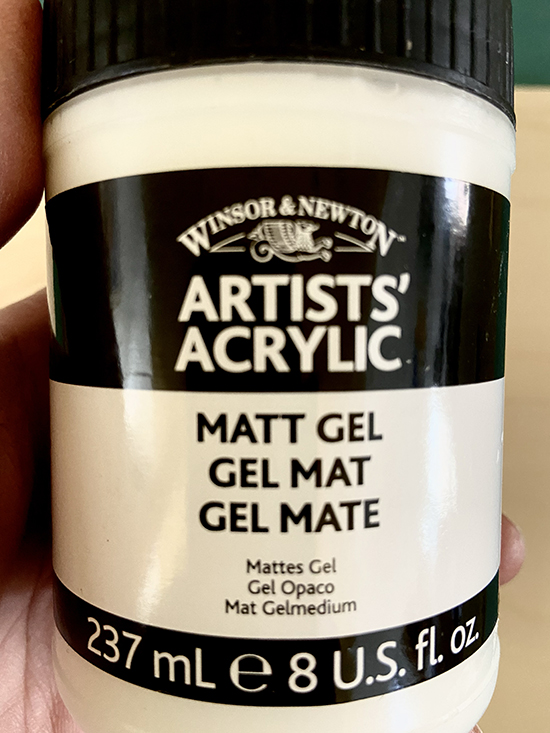
As an adhesive, we like to use high-quality acrylic polymer, applied with a brush to the back of the painting and the face of the panel at the same time.
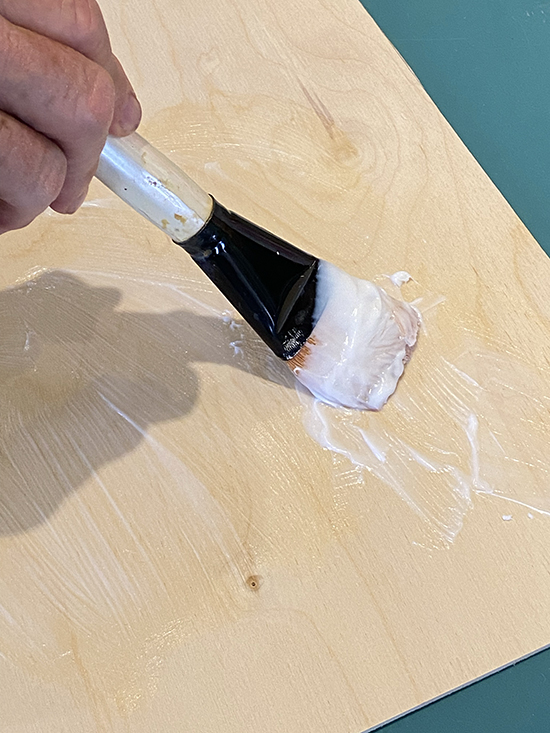
We first lay down a large sheet of clean paper on the table and then work the painting and then the panel on top of that. There will be excess around the edges. We use a large bristle brush dipped directly into the jar of acrylic and generously apply an even coating to both surfaces. Note: Be very careful to firmly hold your painting in place while you do this! If it slides, you may get acrylic on the underside, the art, with unpredictable results.
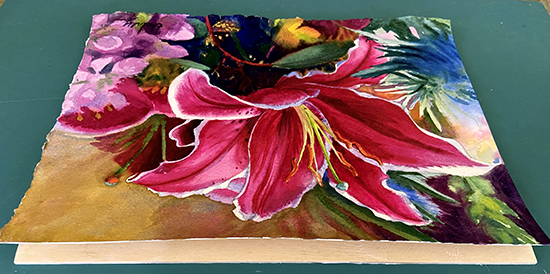
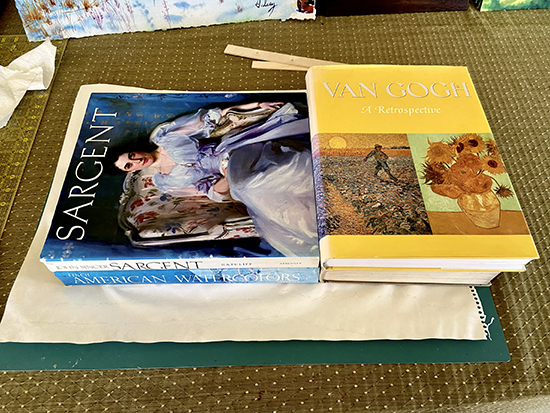
Carefully mount the artwork onto the panel and press together, smoothing from the center out. We usually size our panels slightly—maybe 1/16th” smaller than the painting, so that the artwork can be trimmed flush later. Much easier to trim the paper than to trim a board later! After the artwork is down firmly, we use a soft rubber brayer to do the final smoothing and push any air bubbles or excess polymer out. Let dry overnight by placing heavy books on top of the mounted panel.
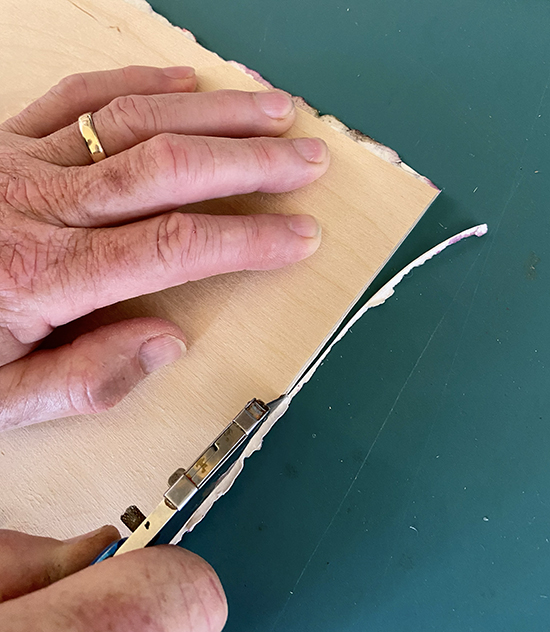
The next day, place the mounted panel face-down on a cutting surface and trim any excess paper from around the panel. Your watercolor is now fully sealed and protected from dirt, moisture and the atmosphere, and you are free to get creative with your framing presentation!
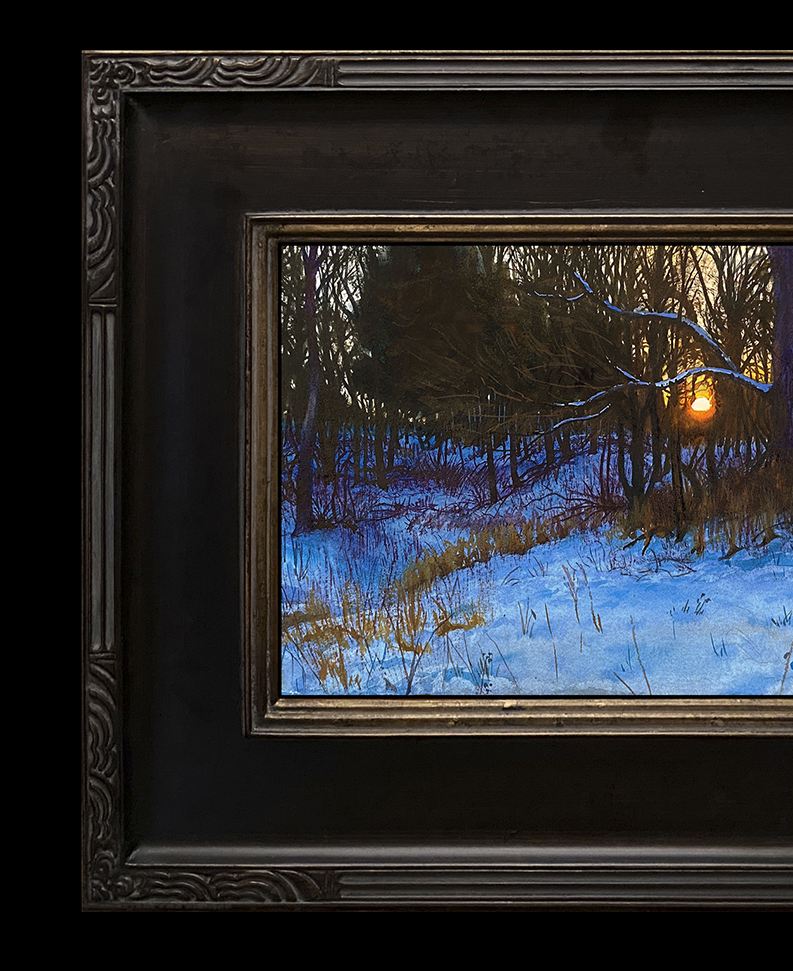
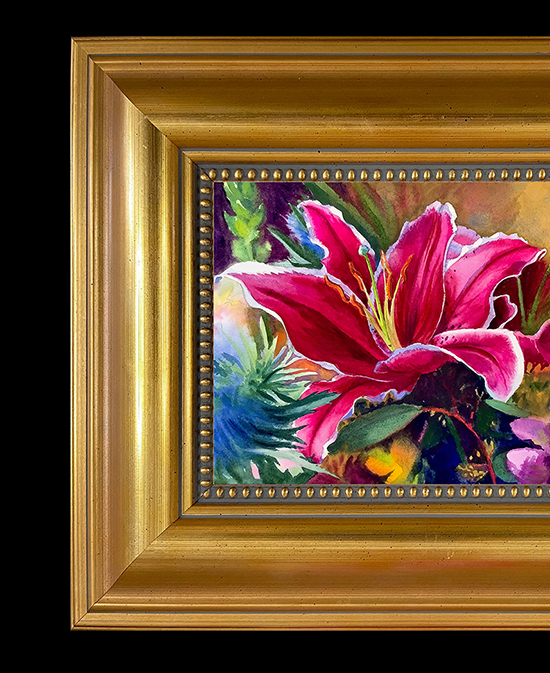
Here are just two examples of waxed watercolors with traditional plein air frames. We think you’ll agree that they look great without the glass or the need for mats. We’d love to see any other watercolor mounting solutions which you may invent. Contact us with a photo and we’ll put them on The Artist’s Road.
|
Become an Artist's Road Member Today!
Already a Member?Log in here. To renew your membership, log in and follow the links. Search the SitePerspectivesNot ready to become a Member yet? Subscribe to our free email postcards, "Perspectives". Enter your email address here.
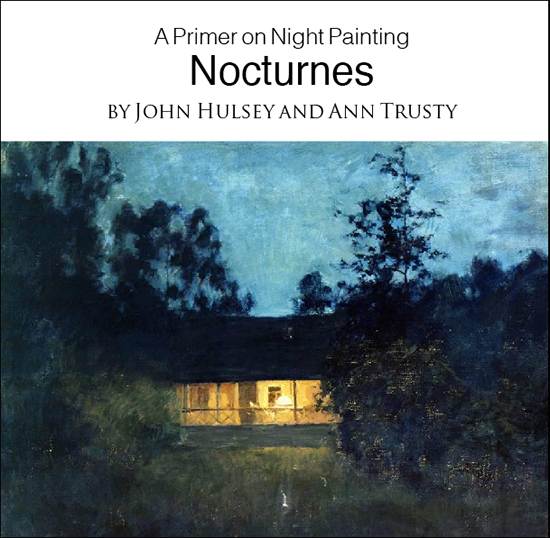
Member ContentFree ContentThe Artist's Road StoreNocturnes - A Primer on Night Painting Filled with inspirational examples by the masters of nightime painting, this little book is sure to fire up your creative energies. Never tried painting at night? We show you how it's done with a step-by-step-oil demo and a tale of night painting in the wilds of Rocky Mountain National Park. The Primer on Night Painting - Nocturnes is a 7 x 7" PDF download with 40 pages of text and images. It includes a gallery of paintings by masters of the nocturne, information to inspire and encourage you in your plein air nocturne painting, an illustrated step-by-step demo and tips for working in pastel and oil. Also available in a softcover edition. Check out the tools and other products that we use in our own art and travels in The Artist's Road Store. We only offer things for sale that we enthusiastically believe in.
About Us
|
 Voices of Experience:Richard K. Blades
 Nocturne Notes
 Inspiration in Monet's Gardens
 The Watercolor Medium
 The Perspectives Archive