Under the Knife - Using Painting Knives to Create Impressionistic PaintingsUnder the Knife
Using Painting Knives to Create Impressionistic Paintings in Oil
We are always trying different painting tools in an effort to discover new ways of image making. Different tools can help us get out of our comfort zones, where we are divorced from familiar, reliable techniques and perhaps even a little uneasy with the process. This is good! Good art can come from being "in the zone", or highly focused on what we are doing, but it can also come from a place where the outcome is highly uncertain and we no longer have the accustomed control of our materials. This is the area where the mind can play more freely with ideas, because our expectations of so-called success are different than when we work with our usual reliable techniques. The only way to learn about a new tool is to experiment, play, have fun and see what is possible. If you have never tried painting with knives before and you'd like to shake up your painting style a bit, we hope this article will encourage you to do so.
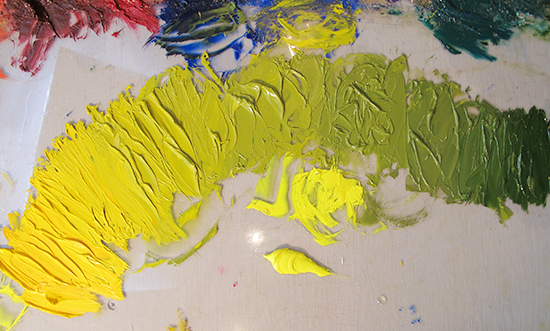
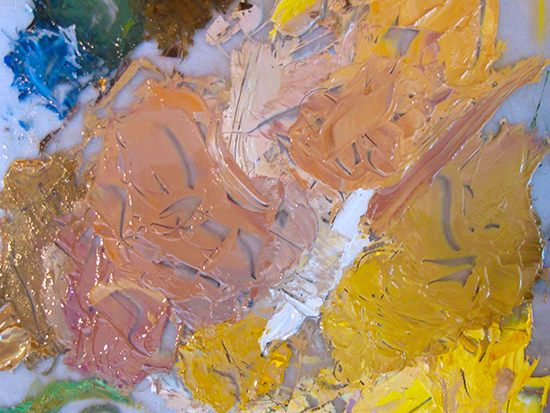
Before I begin painting, I prefer to develop the main mass-tones on my palette by mixing color strings. This is my initial string which covers the first lay-down of cool yellows and greens. Here I have started the string with Cadmium Yellow Medium into Cobalt Blue, then Cadmium Lemon in the center into Cobalt Blue and then Ultramarine for the deepest blue-greens. This string is about 24 inches across.
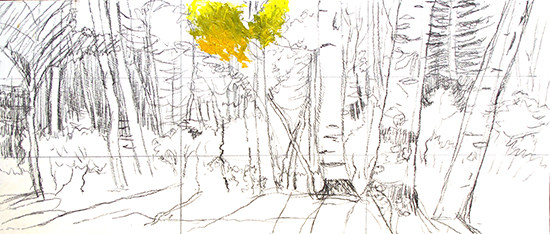
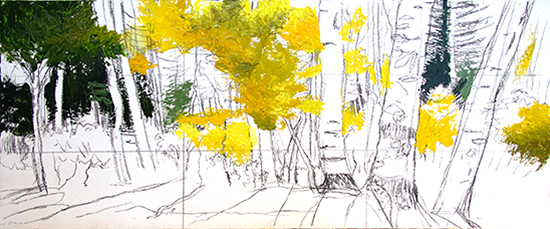
This is my 11.5 x 27.5 masonite panel which I have sealed and triple-primed with gesso. My drawing is fairly precise, having worked out the composition in sketches. I use charcoal or pencil and seal that with a light spray of fixative. My initial paint strokes go down in the center so that I can work out gradually to the ends.
One can't really block in a painting knife painting like a painting produced with brushes. Painting knives leave distinctive marks - that's what we're after - and we want those marks to remain. Instead of an overall block-in, I find it useful to establish bits of darks and lights across the entire panel so that I can make value judgements compared against those as I work. I also use Liquin or NeoMegilp mediums to speed drying when I paint impasto so that I can keep adding to the previous layers day by day.
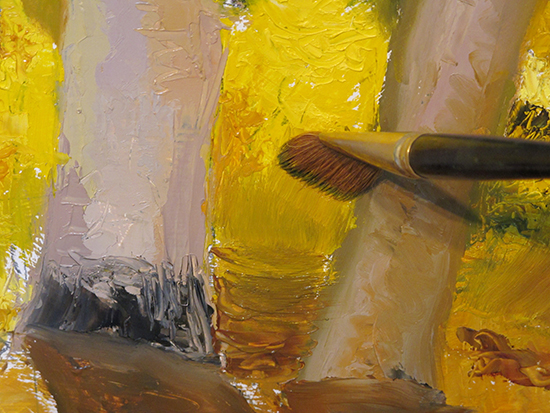
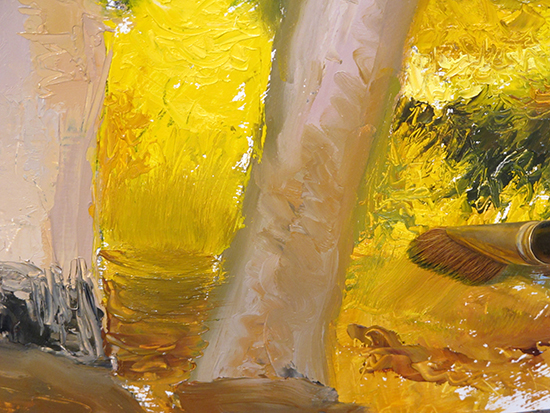
At this stage I am developing my mid-values and darks. The white of the panel will be my lightest value, and I intend to leave that showing in places. This is the playful stage and is a lot of fun. I try different textures with different knives, pushing the paint around until I like the results. I try interesting color combinations and mixes to see what happens. If they are not working, it is a simple matter to scrape them off the smooth panel with the edge of a big knife. This is what I mean about color - look at those lavenders and mauves on the aspen trunks. Not exactly what one might expect, yet they work beautifully with the yellows. This photo shows how I sometimes use a broad flat sable to blend and blur initial background passages to enable the next layers to create texture and detail.
You can see here how I layer-up values and work the composition from large broad shapes into smaller shapes. What I love about this process is the freedom from precise control. I am only concerned with value, color and edges in my composition, not the exact shapes or details. This keeps me thinking about the picture as a whole and the feeling that I am trying to evoke.
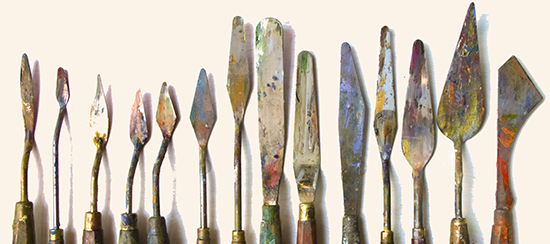
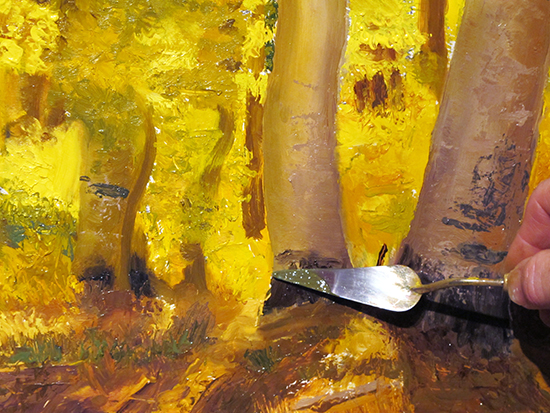
With a big knife like this, I can either use the flat of the blade to lay in a big swipe or the flexible tip to suggest smaller areas of detail. Of course, once the paint is on, the knife can also be used to scumble and blend and create interesting textures. Look how loose and suggestive the paint surface is becoming.
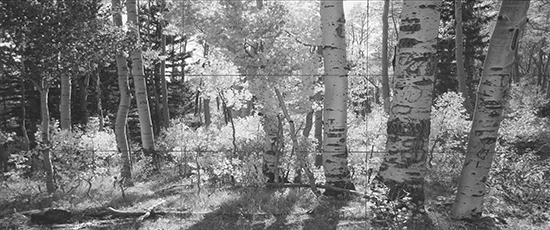
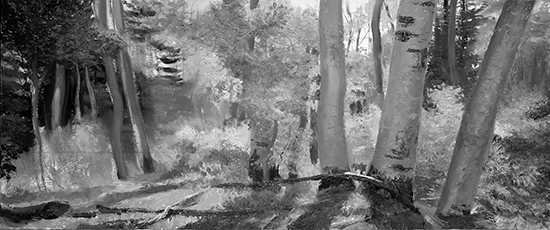
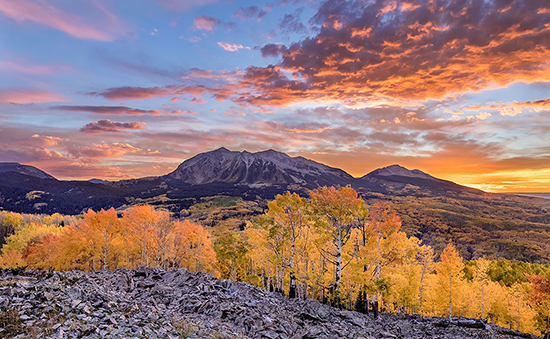
I like to make sure my values are not getting out of control in a colorful painting like this, so I use my camera as a black and white viewer to check them. On top is my reference photo, below that is my painting. My mid-values and highlights are right on. They are the hardest to get right in my view. What remains is to build my spread of darks to create depth.
In this photo the large aspens are essentially finished, along with the entire right third of the painting. I have begun to build depth and detail in the foreground and gradually working toward the far left.
Related article: Brushes? We Don't Need No Stinking Brushes! - Plein Air Painting with Painting Knives. |
Become an Artist's Road Member Today!
Already a Member?Log in here. To renew your membership, log in and follow the links. Search the SitePerspectivesNot ready to become a Member yet? Subscribe to our free email postcards, "Perspectives". Enter your email address here.
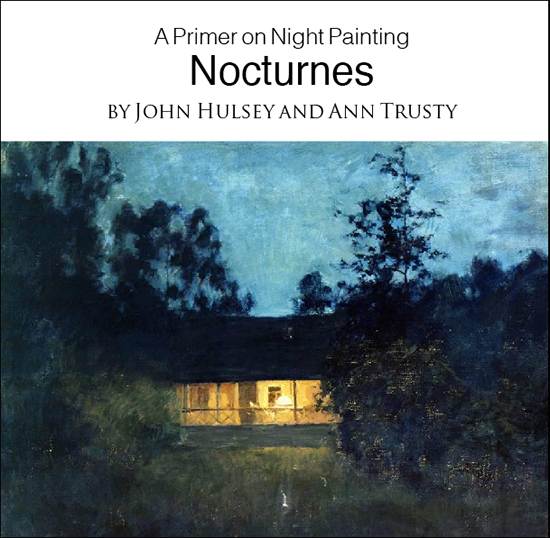
Member ContentFree ContentThe Artist's Road StoreNocturnes - A Primer on Night Painting Filled with inspirational examples by the masters of nightime painting, this little book is sure to fire up your creative energies. Never tried painting at night? We show you how it's done with a step-by-step-oil demo and a tale of night painting in the wilds of Rocky Mountain National Park. The Primer on Night Painting - Nocturnes is a 7 x 7" PDF download with 40 pages of text and images. It includes a gallery of paintings by masters of the nocturne, information to inspire and encourage you in your plein air nocturne painting, an illustrated step-by-step demo and tips for working in pastel and oil. Also available in a softcover edition. Check out the tools and other products that we use in our own art and travels in The Artist's Road Store. We only offer things for sale that we enthusiastically believe in.
About Us
|


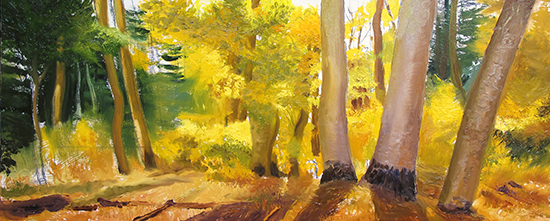
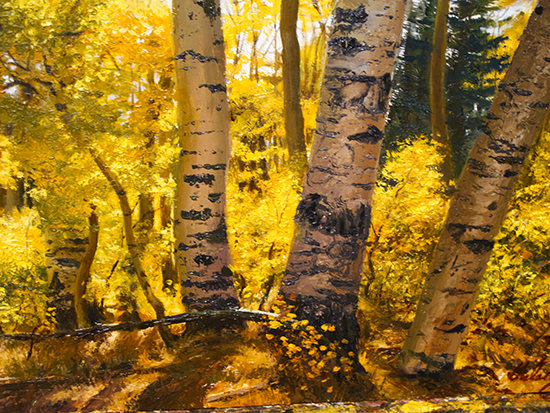
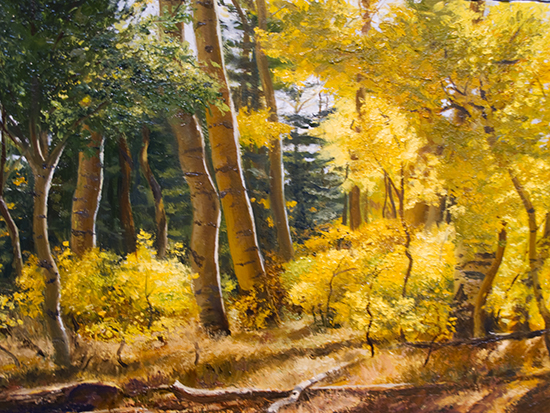 This shot shows that I've established the trunks on the left and begun building the tonal depth toward the finish.
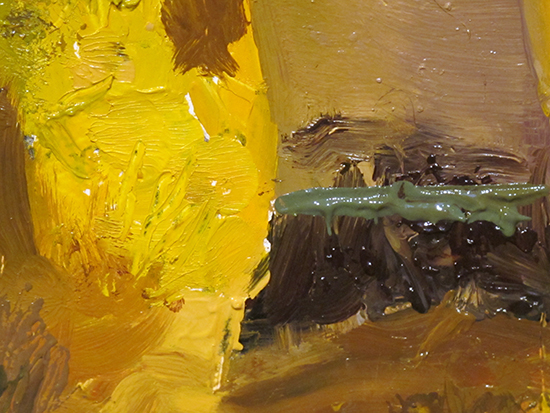
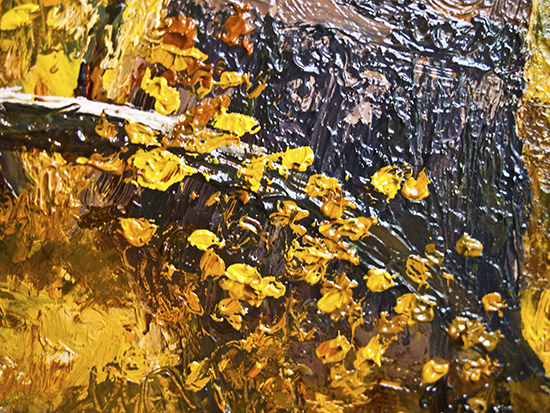 Close up of the wonderful surface textures which knives can produce. As the previous layers dry, it is a simple matter to scrape color across the top of this surface and create the illusion of fine details like leaves or sparkles of sunlight. Step back a pace or two and voila! The illusion snaps into place to make a very convincing and effective impressionistic vision of paradise.
 Voices of Experience: Svetlin Sofroniev
 Voices of Experience:Jason Sacran
 ing Watercolors
 Nocturne Notes
 The Watercolor Medium
 Paintings & Their Places
 Essential Photo Tools for the Landscape Artist