The Grand View - Afternoon Edition, A Step-by-Step Demonstration by Paul Kratter
Previous
|
The Grand View -
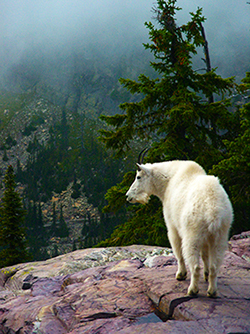
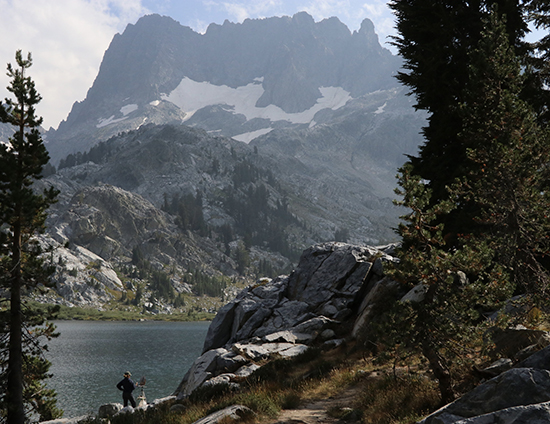
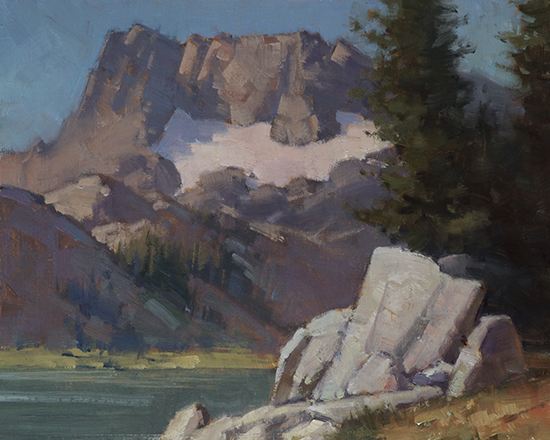
This is a photo of the view I saw every day as this scene is about ten feet from my campsite at Lake Ediza. I always have at least one goal and I had two on this one. The first one was to have FUN! Secondly, I wanted an immediate read of foreground and background. I was attracted to the vertical tree element and the granite rock formation. They would be my anchors for the piece.
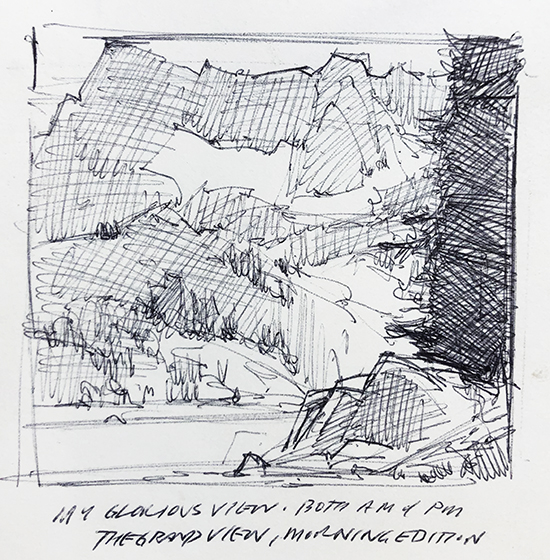
I first did a 3 x 3" ball-point pen sketch to determine if the piece was worth doing. I determined there were five distinct shapes, that the trees were the darkest element, and that the geometric rocks were also a unique shape. I divided my sketch into three basic values; white, gray and black. I made the decision to use an 8 x 10" panel and change my composition slightly.
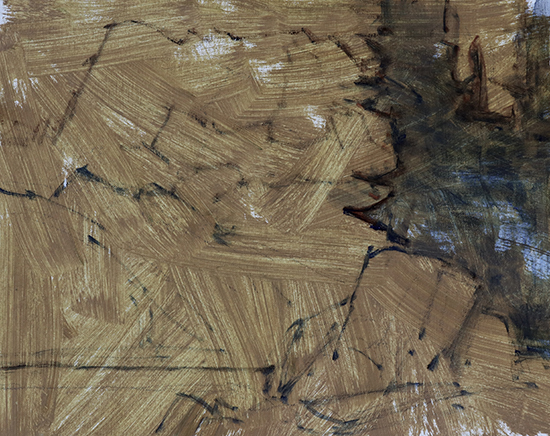
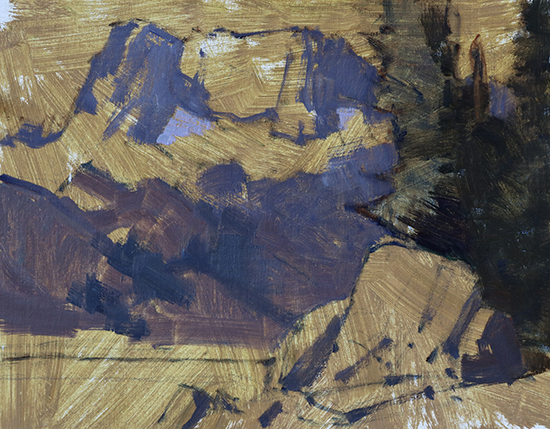
My linen panel was first primed with Fastmatte (Gamblin) and a little India Yellow-Orange and Cobalt Blue. That gave the panel a little more grip and a warm color that helped key the painting. I quickly did a light pencil drawing and then, using Ultramarine Blue, I did a linear drawing with a #2 brush and filled in the tree shape. That's three drawing steps before I even painted with color!
I next blocked in the shadows of the mountains using Ultramarine Blue, a little Dioxazine Purple and some Cadmium Orange along with White and a little Turpenoid. The paint is pretty thin and translucent. Then using Sap Green and Alizarin Crimson, I blocked in the tree shape. Note: I'm working pretty quickly as the light is changing pretty rapidly. I'm also really observing the shapes and making small drawing adjustments. I consider that I'm always drawing with the brush.
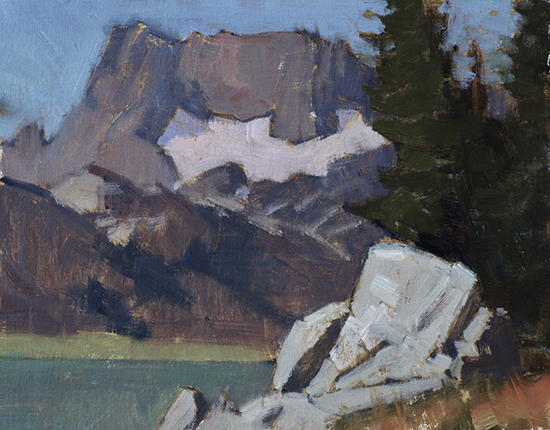
I blocked in the light side of the mountain. My aim is make sure the values don't jump out. The colors I used were Cadmium Orange, a little India Yellow-Orange, Cobalt Blue and White. The snow patch was tricky—I wanted it to read but, not too strongly. The foreground rocks are quite light. I used White with Cool Gray (a light bluet color) and a little Cadmium Orange. I also worked on the tree with angular brushwork using Sap Green and India Yellow-Orange. Note: this is a great time to back up to look at your painting from a different perspective. Sometimes I see drawing issues or I might adjust a color or value. I usually paint a bit bright to start out and then tone down my colors. I like to compare this to being in a room with a dimmer switch on the lights. I turn down the dimmer and it's still full color, just more understated.
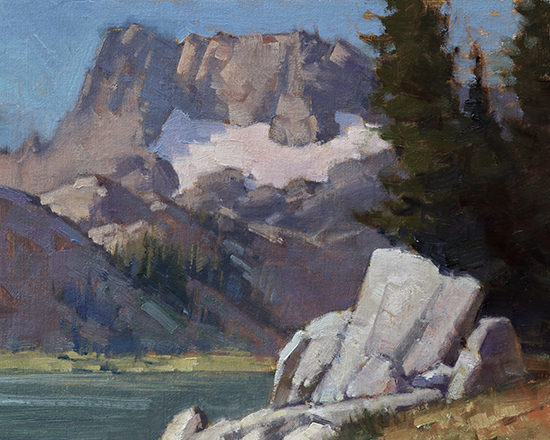
I went back to the shadow side and spent more with developing my angular brush work. I also added some color nuances. To get the softer edges, I dragged my brush between different shapes and also added a bit of texture. This stage takes time and I've slowed down my pace and thought more about what I was trying to convey. I'm looking less at the scene and more at my painting.
I wanted the rocks in the foreground to come forward so I added a little more opaque color by adding more whiter paint and less Turpenoid. I did the same thing to the grass in front of the rocks.
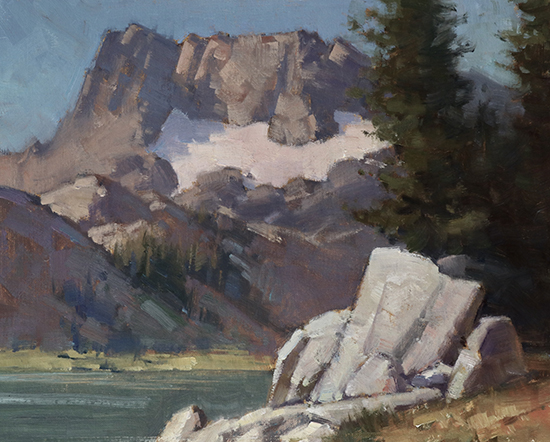
The final step! I scan the whole painting looking at what needs subtle changes. I added some soft edges to the tree with some orange added to the greens. I worked a little reflected light into the rocks and also added a few grasses for variety. I added a little pinker color in the snow patch to push it back. I signed it and yelled out, "Nailed It!". Note: this took about an hour and a half. It really helped me to set goals before I started so it was clear where I was heading. Throughout the whole process I had my sketchbook at my feet, so I would never forget the impact of the scene that I was after. I also think, "What's the reward for looking at my piece up close?" It's my color subtleties and brushwork. Have fun, I sure did!
Visit Paul Kratter's website: http://www.paulkratter.com |
Become an Artist's Road Member Today!
Already a Member?Log in here. To renew your membership, log in and follow the links. Search the SitePerspectivesNot ready to become a Member yet? Subscribe to our free email postcards, "Perspectives". Enter your email address here.
Member ContentFree ContentThe Artist's Road StoreNocturnes - A Primer on Night Painting Filled with inspirational examples by the masters of nightime painting, this little book is sure to fire up your creative energies. Never tried painting at night? We show you how it's done with a step-by-step-oil demo and a tale of night painting in the wilds of Rocky Mountain National Park. The Primer on Night Painting - Nocturnes is a 7 x 7" PDF download with 40 pages of text and images. It includes a gallery of paintings by masters of the nocturne, information to inspire and encourage you in your plein air nocturne painting, an illustrated step-by-step demo and tips for working in pastel and oil. Also available in a softcover edition. Check out the tools and other products that we use in our own art and travels in The Artist's Road Store. We only offer things for sale that we enthusiastically believe in.
About Us
|
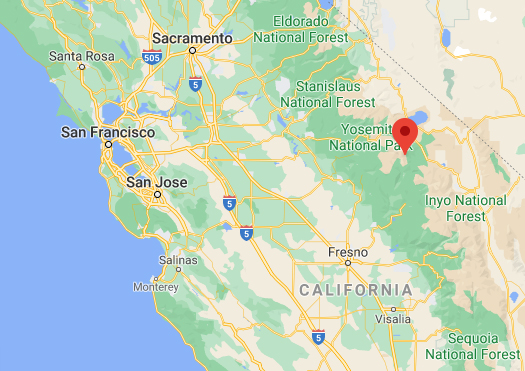 After Paul Kratter returned from his annual "Granite Group" painting trip to the Eastern Sierras, he sent us this step-by-ste
 Voices of Experience:Richard K. Blades
 ing Watercolors
 Nocturne Notes
 Inspiration in Monet's Gardens
 The Watercolor Medium
 The Perspectives Archive