The Elegance & Power of
Middle Values in Painting
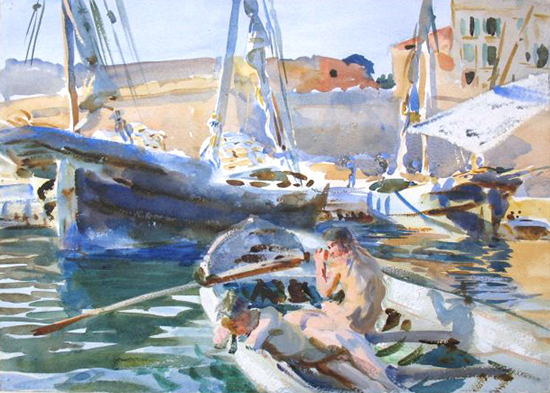 Unloading Plaster Watercolor and Gouache John Singer Sargent
by David Rankin
In order to help you understand this subject of middle values better, I’ve selected a number of paintings from artists of the 1800s. The focus of your attention and evaluation in each painting will simply be, "Where are the darkest darks?"
However . . . I am not referring to black.
When I use the term "darkest dark", I am simply referring to the darkest value used in a painting. In many cases the darkest value in a painting may in fact be a middle value. It’s just that in training watercolor painters, I have to get them used to a more accurate assessment of values. And all too often they interpret darkest dark to mean black. In some of these paintings you will see how the darkest dark is nowhere near as dark as black.
I’ve created this graphic to help identify precisely what we are looking for in each painting.
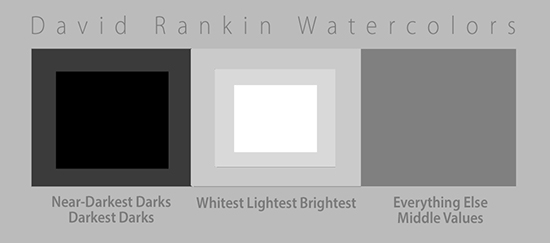 David's Value Comparison Guide
1. The Darkest Elements: The first rectangle on the left consists of both a darkest dark black as well as a dark gray. These are the first visual elements to look for in any potential painting subject.
2. The Lightest Elements: The middle rectangles represent all of those elements in any painting that will remain very bright and vivid, very light colors, and the white of the paper.
3. The Middle Values: Once you’ve evaluated where the darkest elements of a painting are, followed by which elements will remain very light, bright, or white paper, everything else in that subject must fall somewhere in the middle values. I find often that 50%-75% of any painting is actually middle values!
In order to clarify this process we’re going to study the artwork created by several 19th century painters in order to see how they manipulated these three different color values to achieve depth, drama, and mood in their paintings. There are only a few of these that are watercolors - the rest are oils. But the concept applies to all paintings regardless of the medium.
Only 3 Steps Required
 The procedure is rather simple. When first evaluating a potential painting subject–either directly while working outdoors or from photo reference in the studio–you engage in what I call my observation and evaluation recipe. This is a precise set of perceptual procedures that you can use to evaluate and subject.
Step 1. To engage in this procedure, start by looking for and evaluating the very darkest features of any possible painting subject. Try to develop the artistic habit of doing this first. Where are they? How dark are they?
Step 2. Once you’ve identified the very darkest features, switch and now focus on the very lightest features.
Step 3. Once you have identified where the very darkest and the very lightest features are, note that everything else in this particular subject is going to be painted in middle value colors.
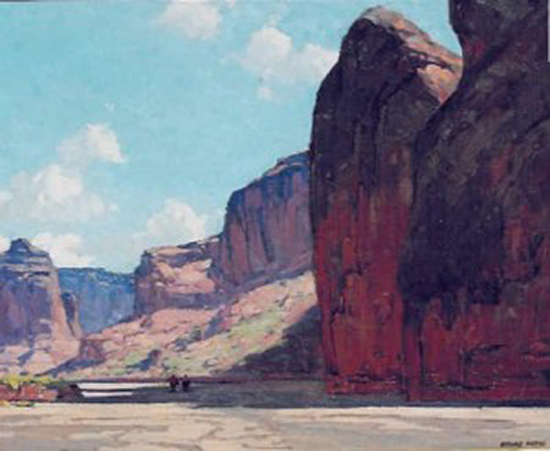
Above: Canyon de Chelly, Oil, Edgar Alwin Payne
This is a free sample of a much larger, in-depth article available to our members. If you like what you find here, won't you consider supporting The Artist's Road educational mission through your membership today? We think you'll love it - Guaranteed.
The ability to create a painting that appears to have visual depth is a magical illusion created by the successful manipulation of several visual factors, most of which are the values. Building a painting using these procedures will result in a painting that succeeds at convincing the viewer that there is depth where in fact there is none!



 Voices of Experience:Richard K. Blades
 ing Watercolors
 Nocturne Notes
 Inspiration in Monet's Gardens
 The Watercolor Medium
 The Perspectives Archive

